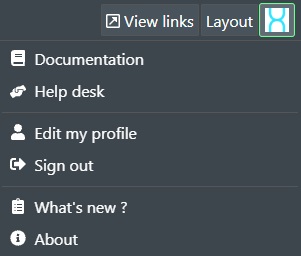
User Settings
The User Settings menu is always accessible on the topmost toolbar to the very right showing the user avatar or person icon:

When you click on this a drop-down menu will be presented Help functions, and User functions.
Documentation
This is a link to the online documentation that you are reading now.
Helpdesk
This takes you to our Helpdesk with FAQ's, Knowledge Base etc. and support center located at community.futureon.com.
Edit User
Select this option to edit your user profile, set up TOTP authentication, and control your notifications.
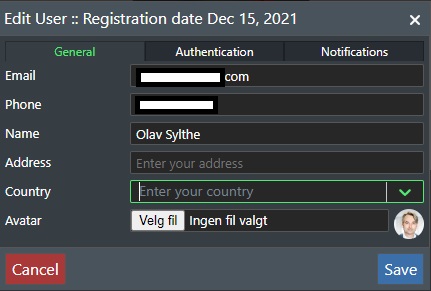
General
The general Tab allows you to edit your registered details such as name, email, mobile phone number etc.
Email - This is the email address you will use to log into the application with. If your company is not using Single Sign On (SSO) you will receive the log in token to this email. For SSO you will be logged in automatically if the email registered here is in your organisations Active Directory as we use this as the UPN (User Principal Name). You can also set up TOTP in the Authentication tab instead of recieving sms/email tokens.
Phone - Enter your mobile/cell phone number here. If your company is not using Single Sign On (SSO) you will receive the log in token by sms to this phone. Note! You must use the country code prefix before the number e.g. +47 followed by your phone number for it to be properly registered.
Name - Enter your name here. Note! This is optional.
Address - Enter your address here. Note! This is optional.
Country - Select your country from the drop down list. Note! This is optional.
Avatar - You can select to upload an image of yourself here or an avatar image. Note! This is optional.
Press Save to update any changes, or Cancel to abort.
Authentication
Select this tab if you wish to enable TOTP (Time-based one-time password using your Authenticator app of choice instead of using SMS/Email tokens.
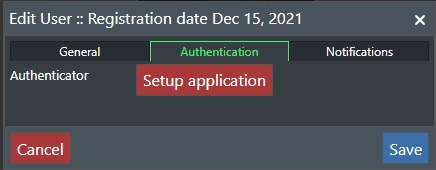
Setup Application - Press this button to setup your authenticator application. This will display the following setup dialog:
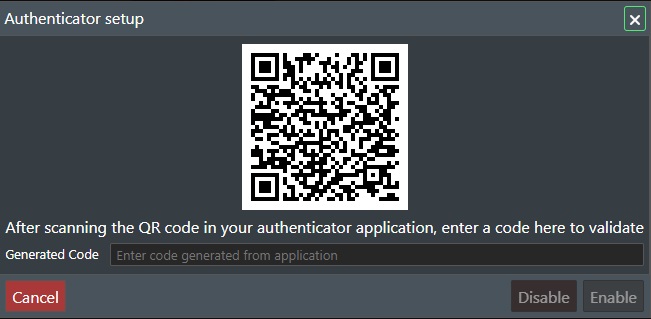
Generated Code - After scanning the QR Code an entry named FieldTwin will be added to your autenticator app and it will display a code that you enter here to complete setup.
Save - This will complete the setup. The next time you log in get the code from your Authenticator application.
Disable - This will disable the TOTP authetication, and you will revert to use SMS/email token instead.
Notifications
This tab allows you to control your application notification settings:
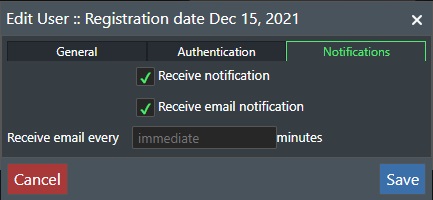
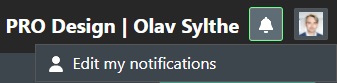
Receive notification - Check this box to enable application notifications. The Notification icon will indicate new messages, or allow you to edit your settings if no messages:
Receive email notification - Check this box to also enable application notifications to your email address.
Receive email every - Enter a numerical value for the number of minutes between every time email notifications will be sent. Default is Immediately.
Save - Press the Save button to store the changes, or Cancel to abort.
Sign Out
Selecting "Sign Out" from the user profile menu will log you out of the system. You can log in again by going to app.fieldtwin.com or your single tenant URL.
What's new?
This will present the splash screen dialog that is show initially when launching FieldTwin Design after a version update with a list of the features and functionality added and you can select to not show again until selected here or a new version is released.
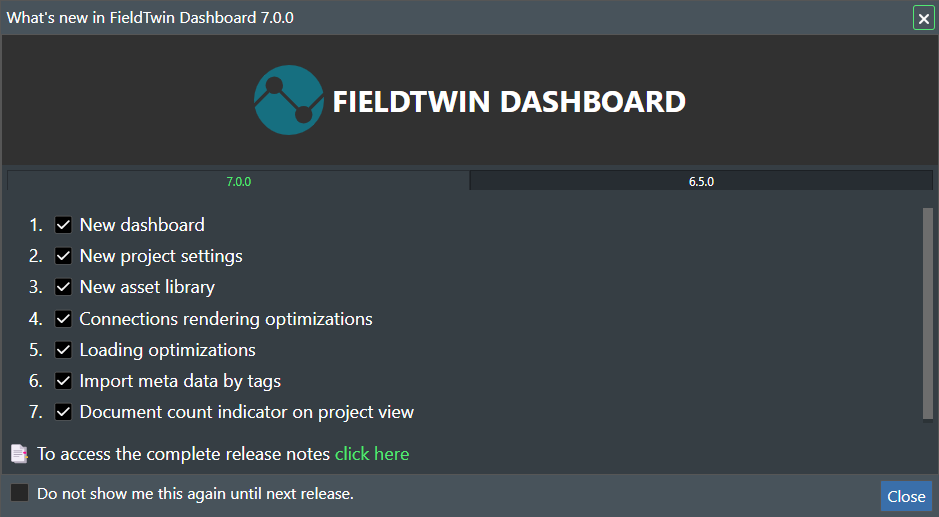
This dialog box will also allow you to access the release notes, which explains all the listed features in more detail.
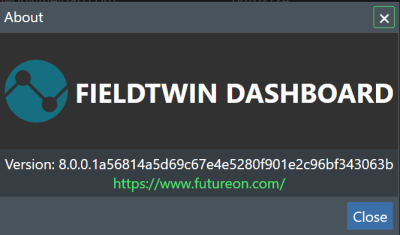
About
This will display the About dialog with FieldTwin Design version and build information.
Supply the build number information if asked to do so by our support desk.