AutoCAD Import/Export
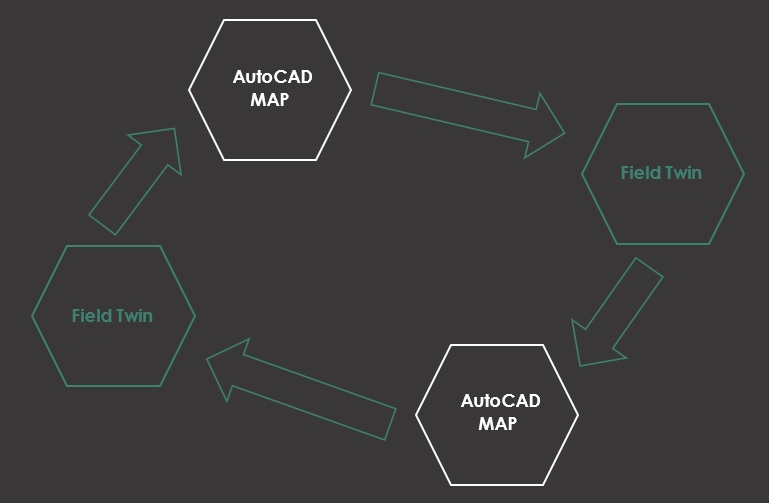
FieldTwin does not support AutoCAD DWG read and write directly, but by using the Shape file import/export functions together with the FT Rule Engine you can easily transfer your field layouts between AutoCAD Map and FieldTwin Design. This How to guide will demonstrate the steps needed to both import and export data between the applications.
You will need the AutoCAD MAP 3D toolset that is included with AutoCAD to be able to export the data with the correct geolocation(s).
DWG to SHP Export
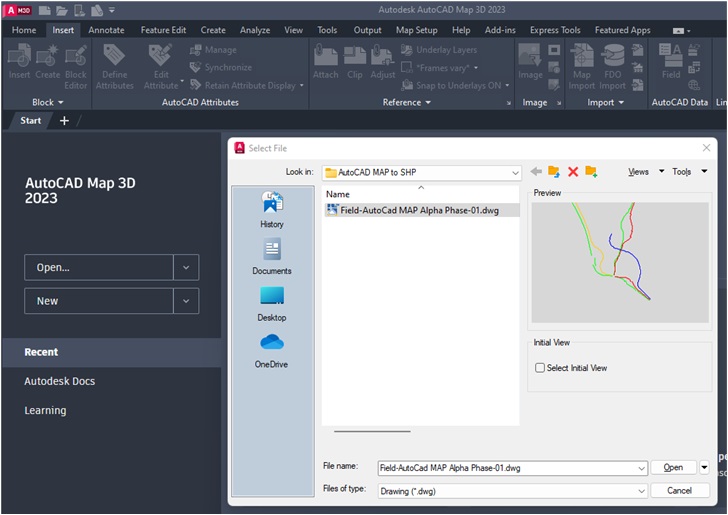
The first step is to open and set the correct CRS and prepare for the export to SHP format inside AutoCAD MAP. Open the DWG file you want to export from:
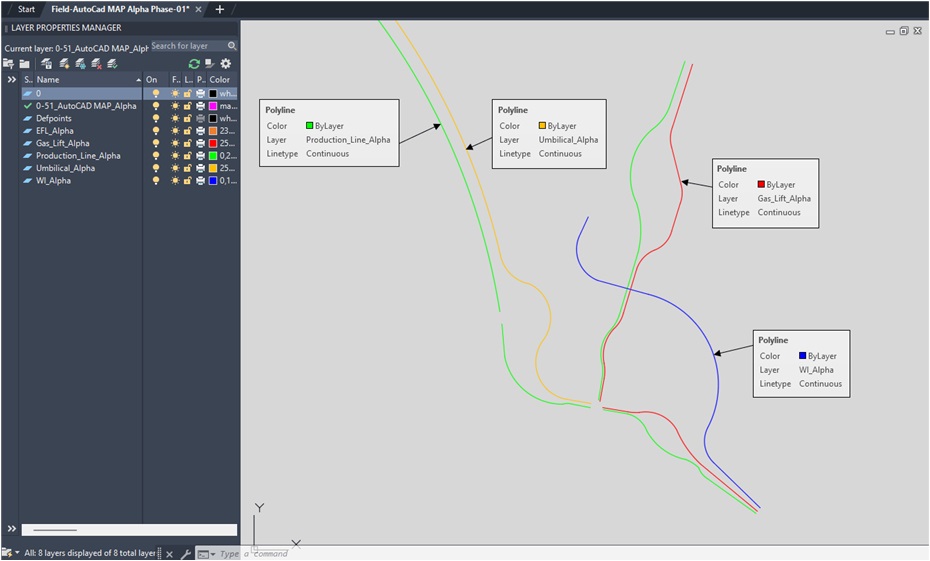
Then clean up the AutoCAD drawing if needed. Make sure that all lines have the right naming convention that you will need in your project.
Make sure that the coordinate system is correct:

If not, you can change it here, hover the mouse pointer over the small globe and select LIBRARY, search for the right CRS.
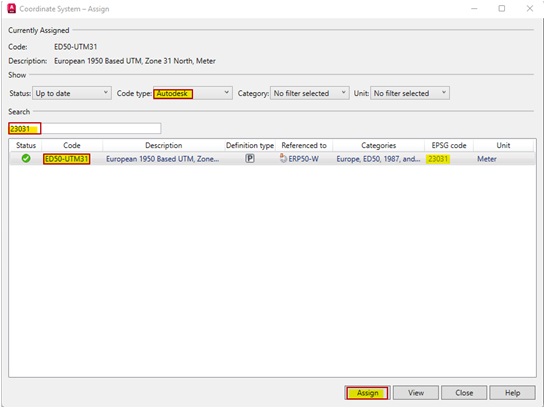
Then click ASSIGN.
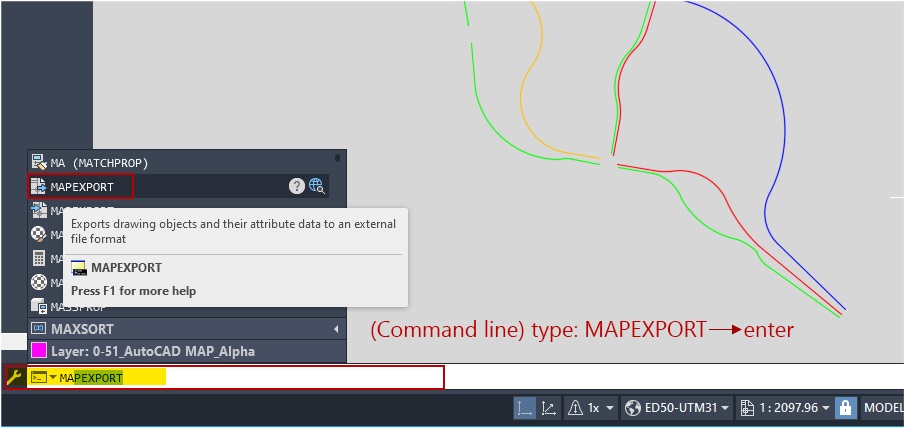
When all is set, use the command line and type in MAPEXPORT. Click ENTER.
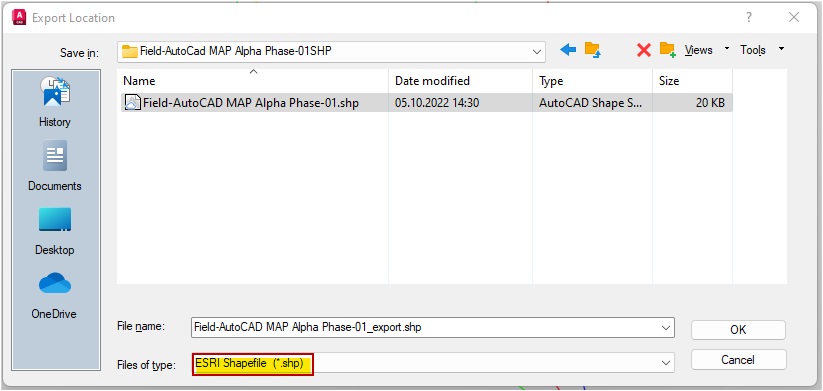
Make sure that file type: ESRI Shapefile is selected. Click OK.
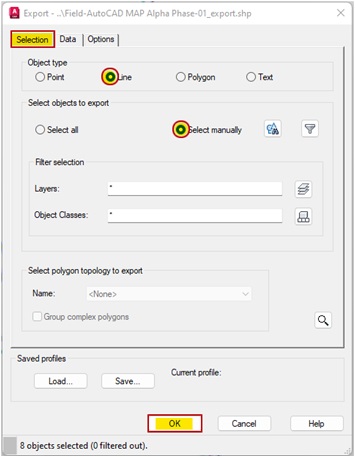
On the Selection Tab, select the check Line option and set selection to Select Manually. Click on the icon to proceed:
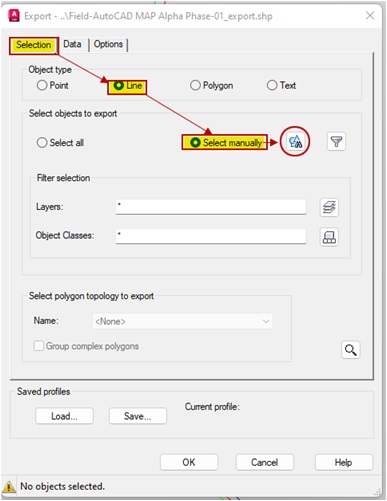
Select the objects you want to export and click ENTER

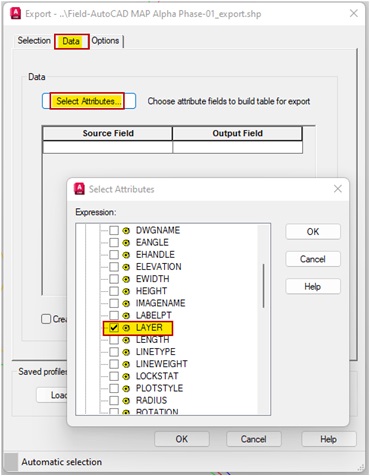
On the Data Tab, scroll down and click attributes>Properties, open roll down menu and check Layer. Click OK
Make sure all is selected like below, and click OK
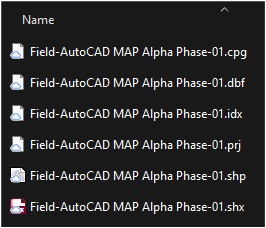
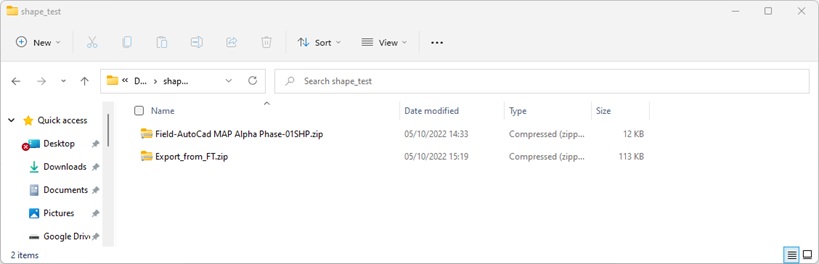
The .SHP file are now saved in your designated location. It should have these files as shown below.
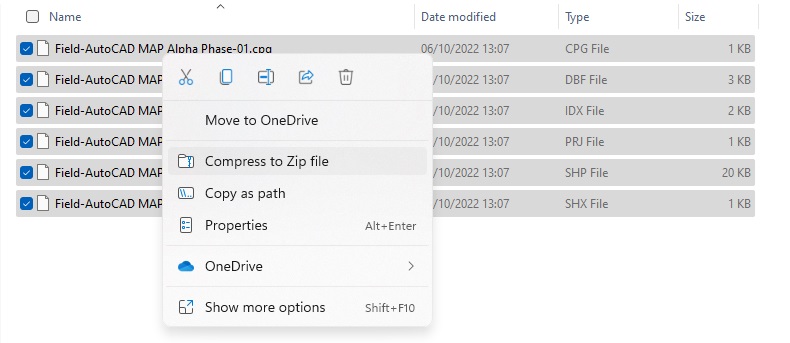
Make sure to archive all files into one (1) .ZIP archive
SHP Import
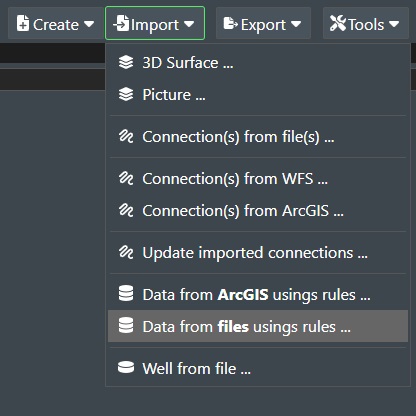
Now that you have exported your field layout from AutoCAD MAP to SHP following the steps above you can now import it into FieldTwin. In FieldTwin go to the Import Menu and select Data from files using rules engine:
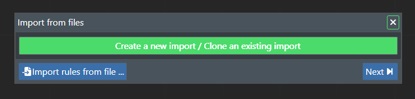
Click Create a new import:
Select your Zipped archive file:
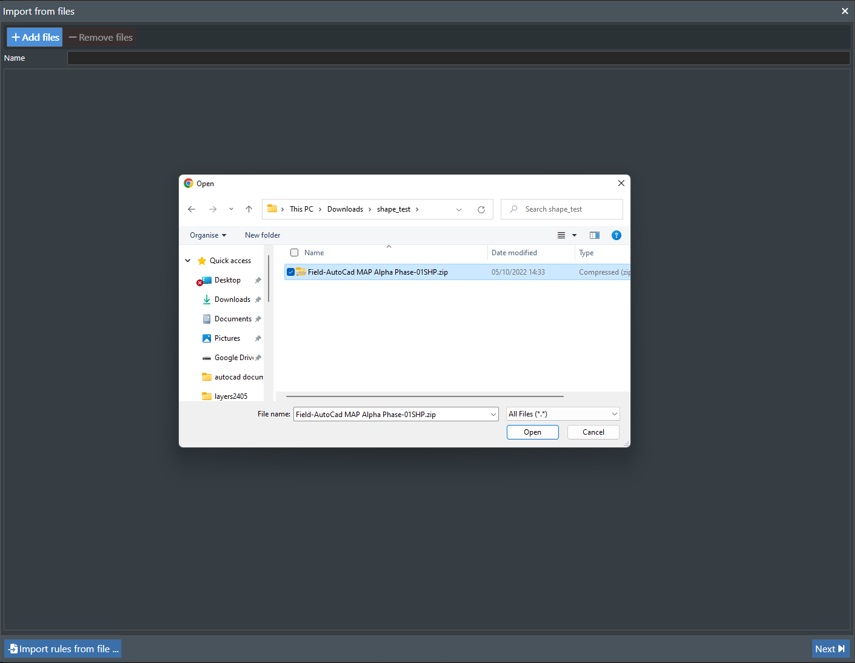
Press the Next button:

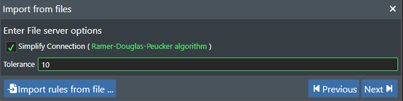
Then select your wanted Simplification tolerance value:
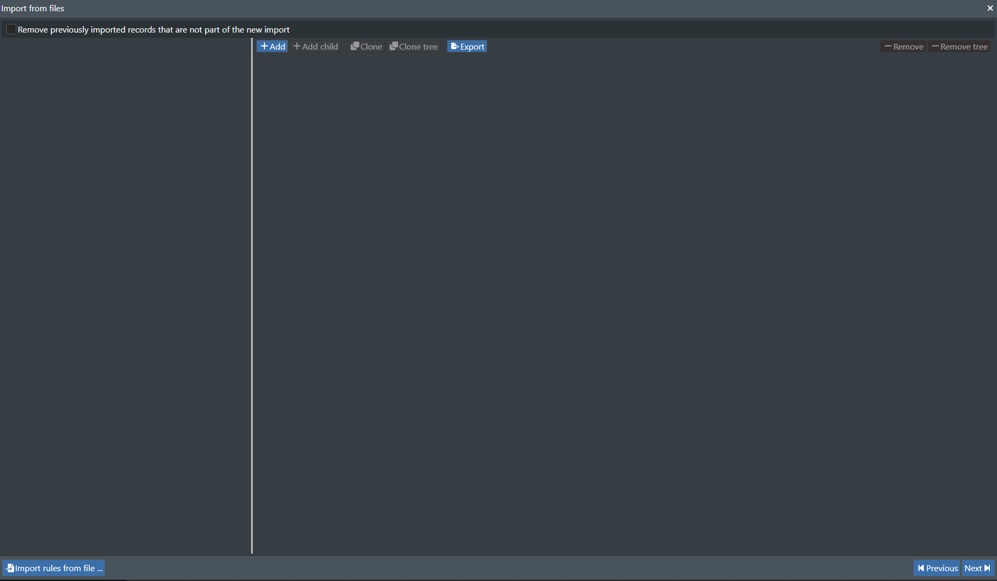
Inside the Rules Engine, click on the +Add button:
Select the first input box and choose “Geometry” – Equal -

Then select LineString as the 3rd input:

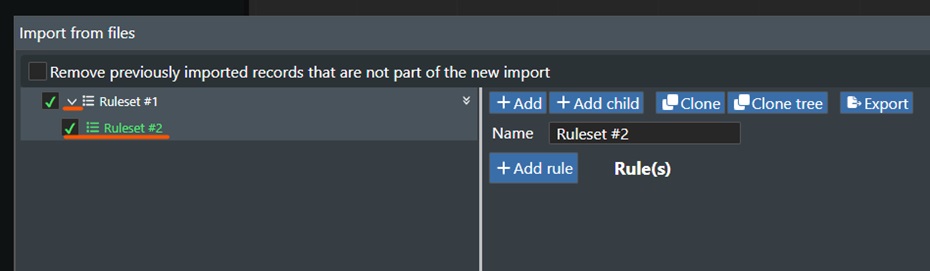
Click +Add child to create a child-rule to this parent rule:
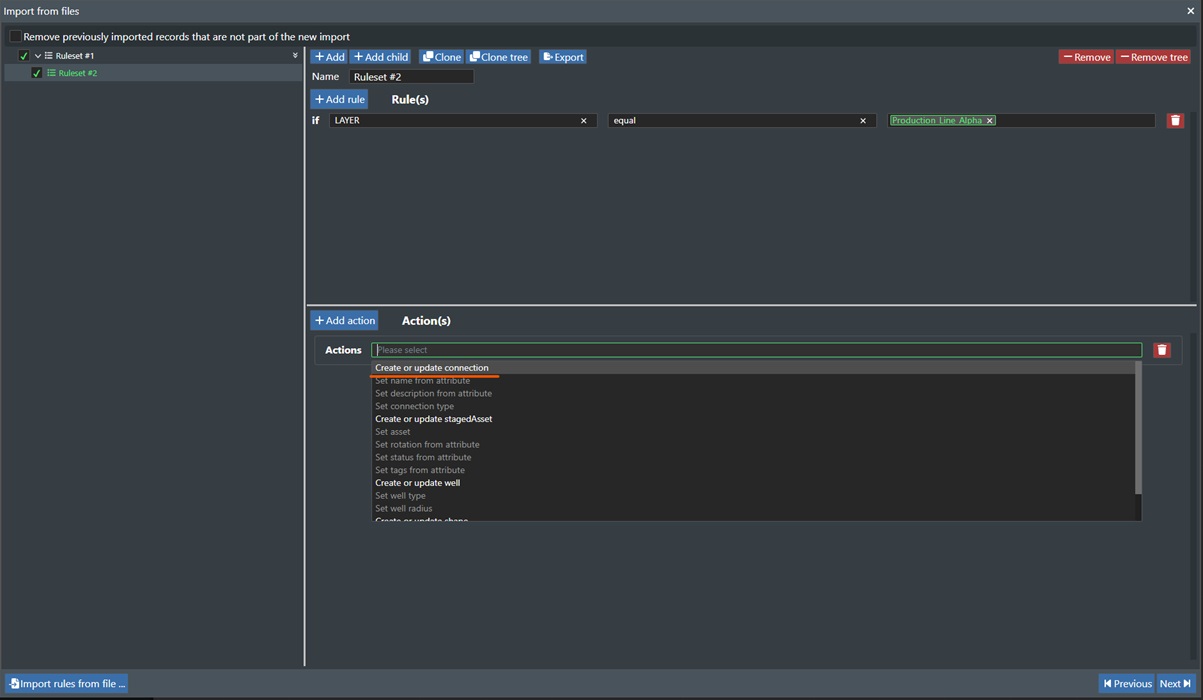
Select LAYER, keep equal and select chosen Pipeline layer type in the 3rd input:

Select Action : Create or update connection:
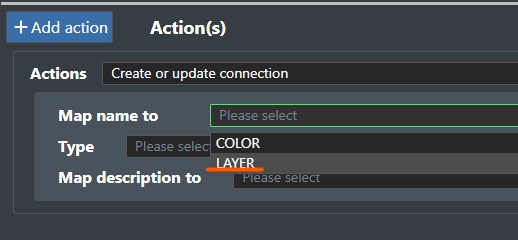
Map name to : LAYER
Set Type to the corresponding Pipeline type in FieldTwin (in this case Production):
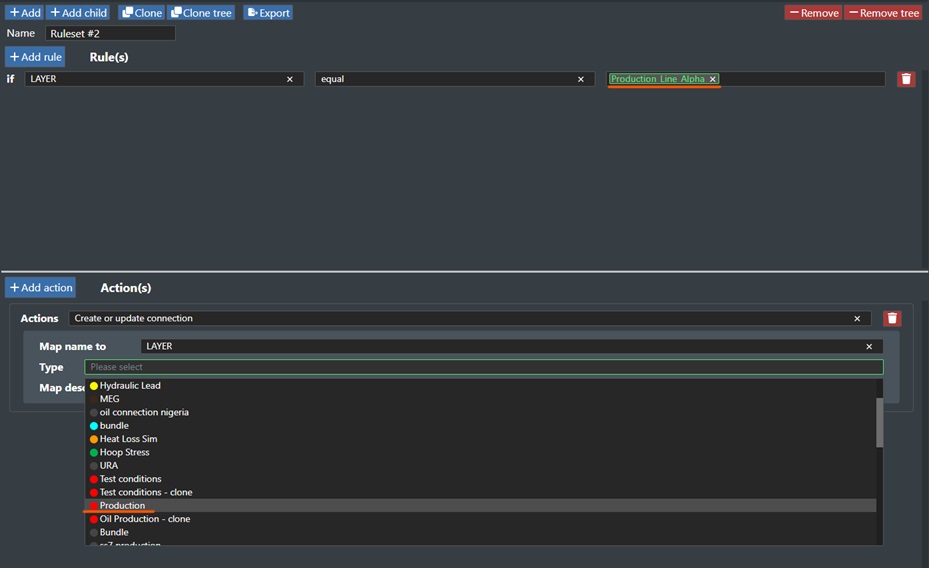
If the Description field is in the .shp file you can also map this to the description field. We are going to leave this open in this example

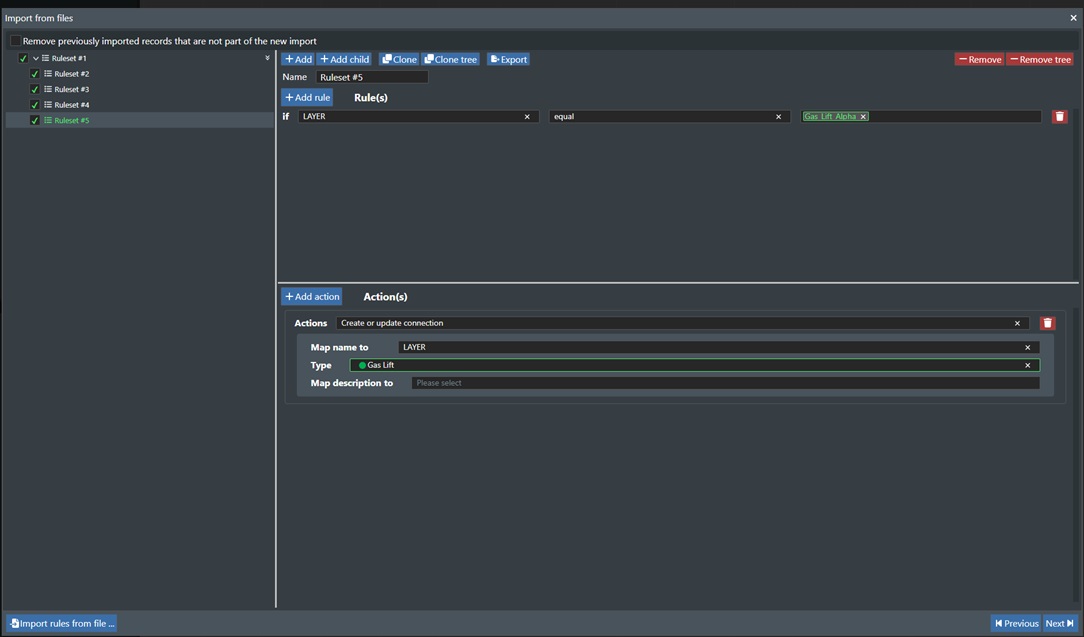
Create additional child rules to map all pipeline types as needed and then press Next:
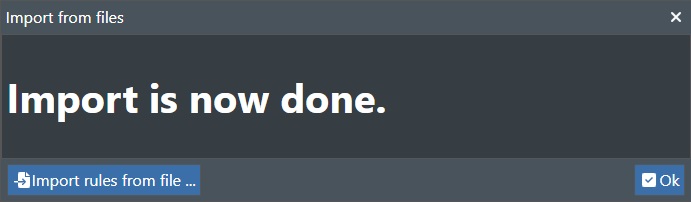
FieldTwin will now execute on all your created rules while parsing the SHP file and create the field layout in FieldTwin. When this is complete the following dialog box will be displayed:
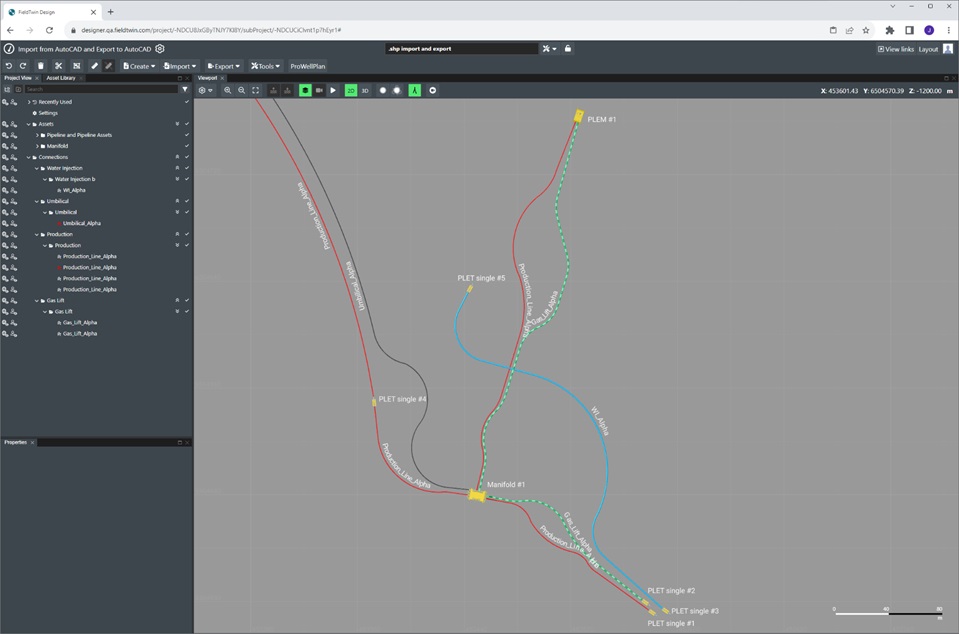
You can now locate your newly imported pipelines by using the Project View tree view:
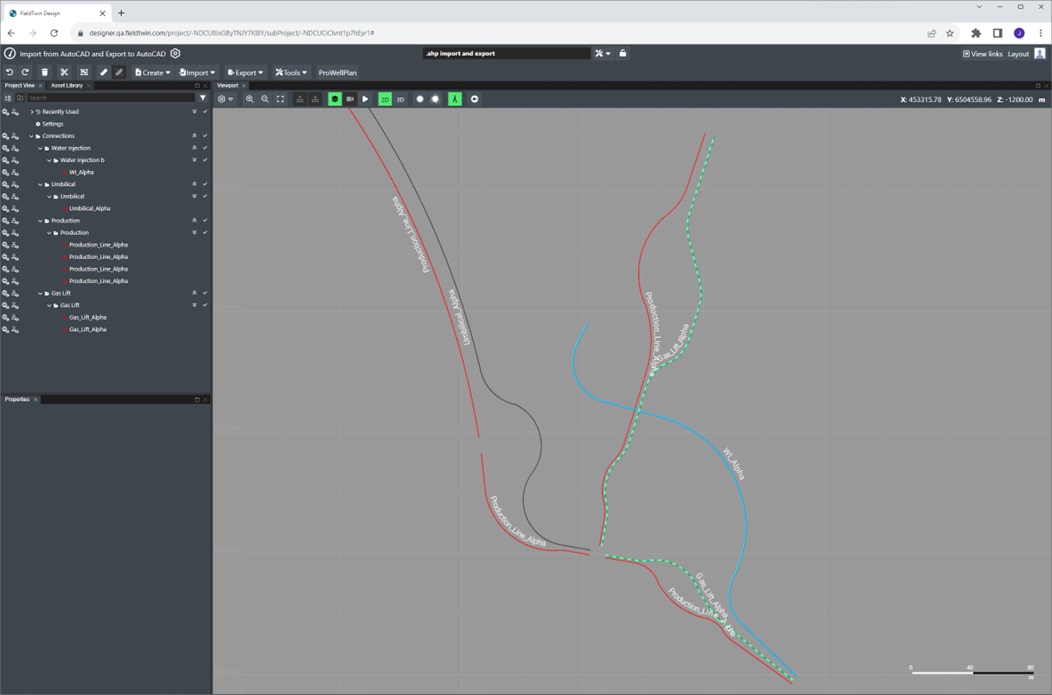
To complete your field layout add you subsea assets from the Asset Library and connect them:
SHP Export
To export your field layout from FieldTwin to e.g. AutoCAD perform a multiple select on the entire field (connections & assets) and export as .shp
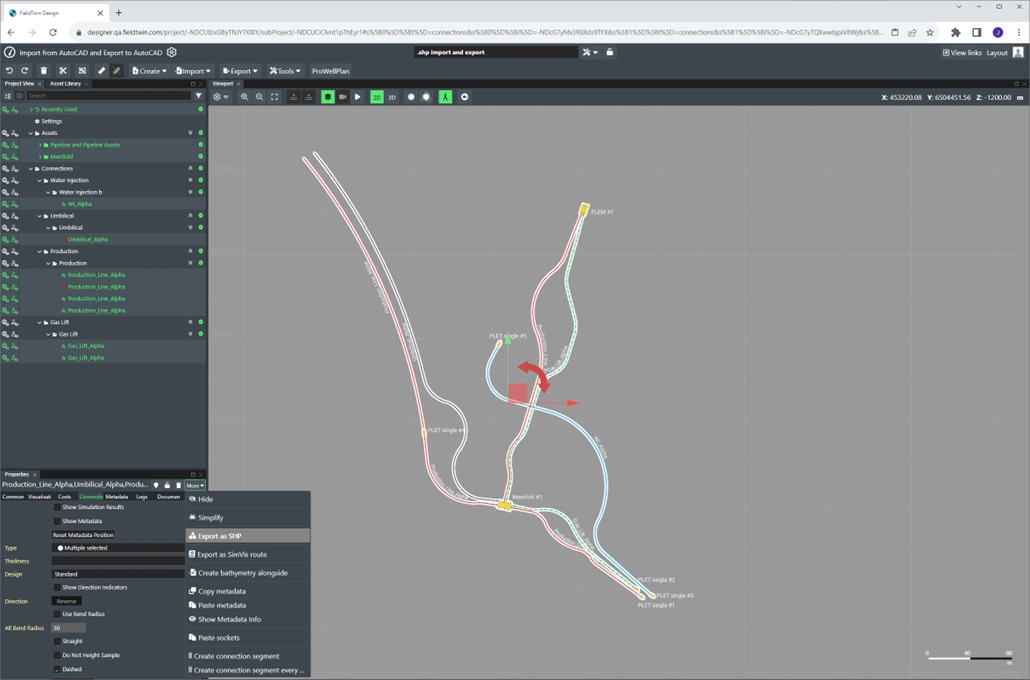
Choose name for your export and press Save (this will create a .zip archive):

And save it to your Downloads folder:
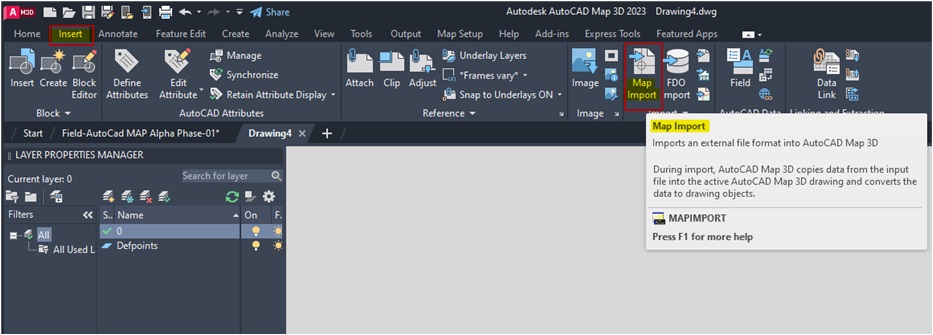
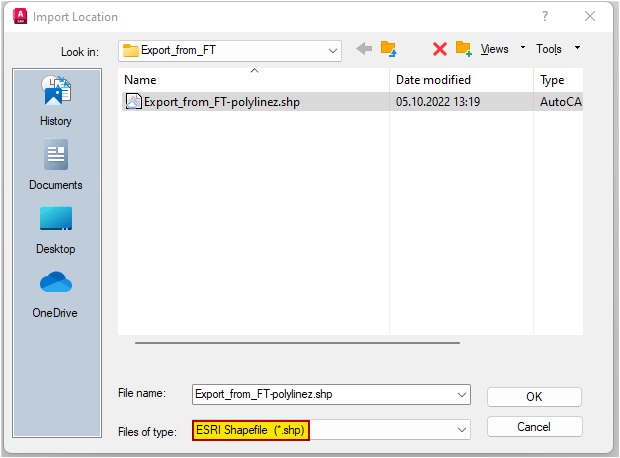
Now Unzip the exported ZIP archive file from FieldTwin. Then launch AutoCAD Map, and select the Insert Tab and press Map Import as shown below:
Select ESRI Shapefile (*shp) as Field of type and click OK.
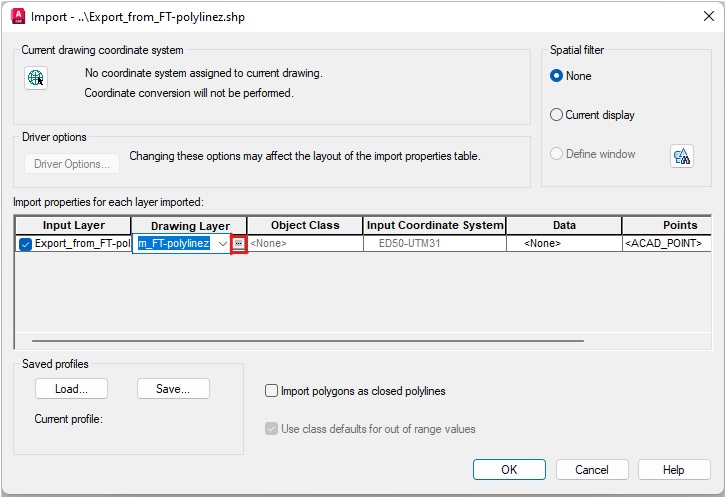
On import, select Drawing Layer and click on the highlighted small button.
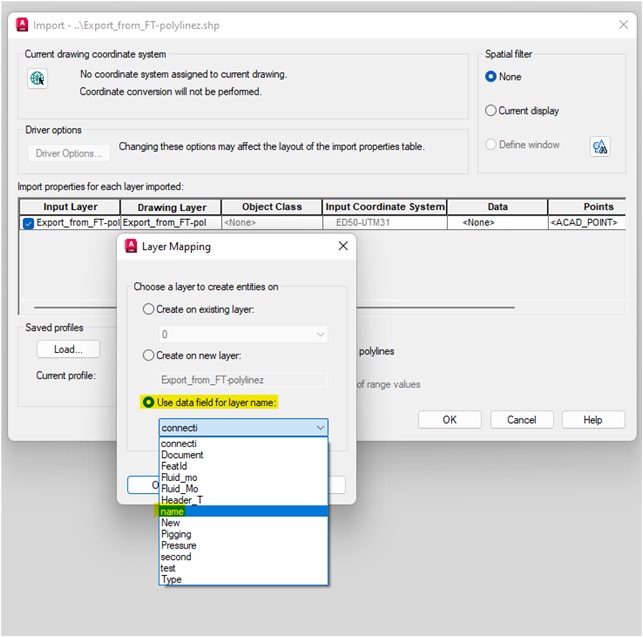
In the new window, check the button for Use data field for layer name, and select the name. Click OK. Then click OK again on the remaining window.
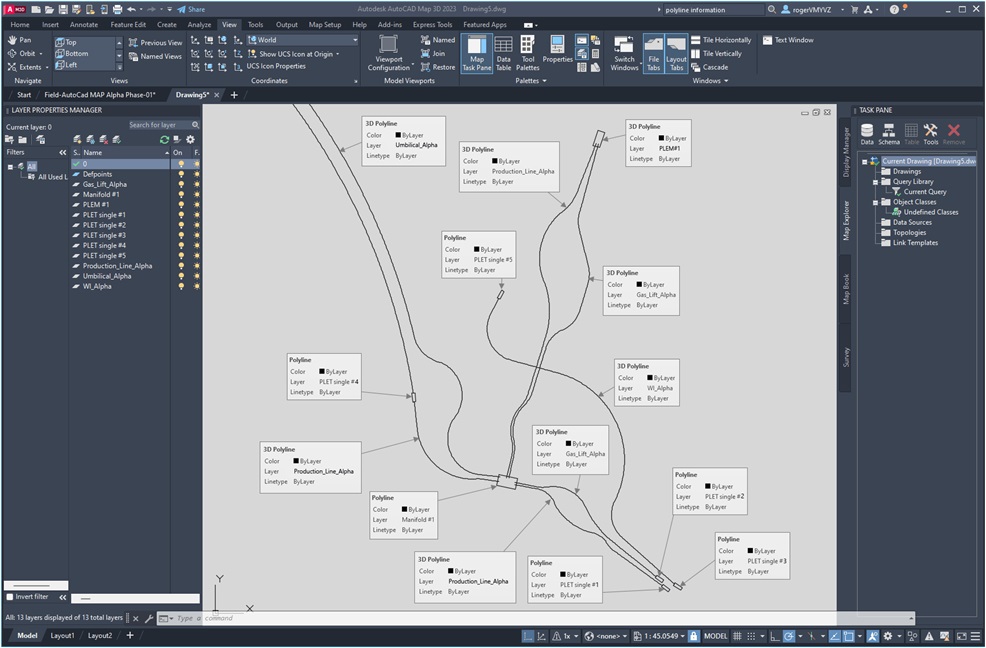
Use the View Tab>Extents to center the viewport. The result should look like this after import:
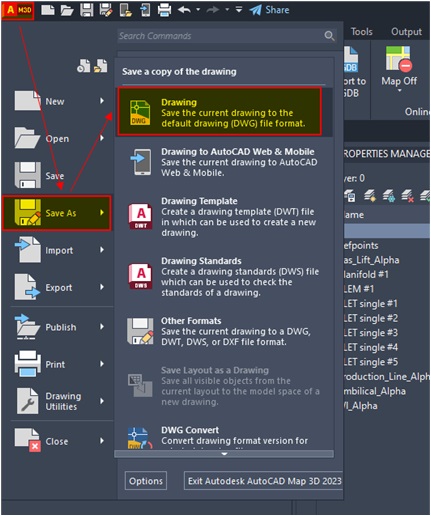
To save the imported SHP file as DWG in AutoCAD, from the top toolbar, select the Save As icon, and save as AutoCAD 2018 Drawing (*dwg):
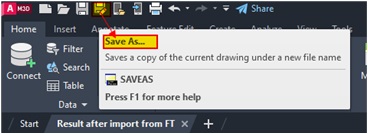
Or as in the illustration below, select save as AutoCAD 2018 Drawing (*dwg)