Project Asset Library
The first step after completing the Add Project command to create a new project is to design the field layout! To populate your field layout, you need to choose your structures from the "Asset Library". Open the "Asset Library" by clicking on the tab next to Project View in the side panel as shown below:
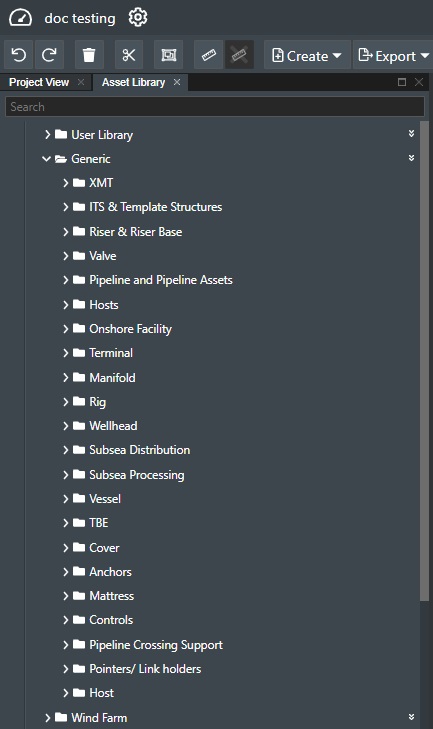
This will reveal the asset library selector catalog as shown above. You can have multiple asset libraries including private asset libraries for your own company that depicts your own equipment or vessels. Default libraries available are "Generic", "User Library" and "Wind Farm" libraries.
Generic Library
The generic library is comprised of the most common subsea and topside assets in addition to various vessels. The assets are grouped into the following categories represented by each own sub folder:
- XMT
- ITS & Template Structures
- Riser & Riser Base
- Valve
- Pipeline and Pipeline Assets
- Hosts
- Onshore Facility
- Terminal
- Manifold
- Rig
- Wellhead
- Subsea Distribution
- Subsea Processing
- Vessel
- TBE - To be Engineered
- Cover
- Anchors
- Mattress
- Controls
- Pipeline Crossing Support
- Pointers/Link holders
- Host
Click on the folder to expand it to show the content of the folder e.g. as shown below for ITS & Template Structures:
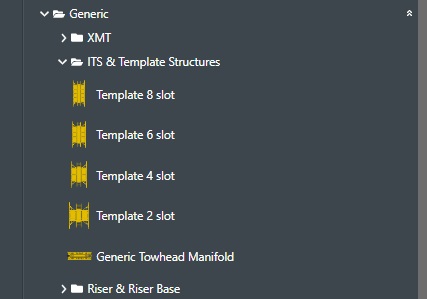
To add an asset to your field layout simply click on the asset you want and hold down the left mouse button and drag it into the viewport to the desired location and release the mouse button.
User Library
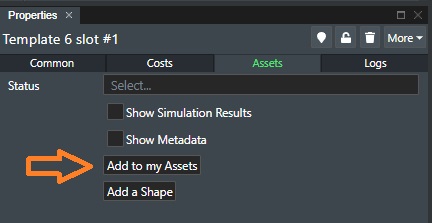
The User library allows you to add any asset you desire from either the generic or from private asset libraries available to you. Typically this might be the assets you use most frequently, but more importantly when you have configured an asset with e.g. the correct number of sockets and set their types etc. and by adding that asset to your user library any changes you made to the asset configuration will be kept as is when you add it for later use in any existing or new project that you create.
To add an asset to your User Library you use the Add to my Assets command as shown below:
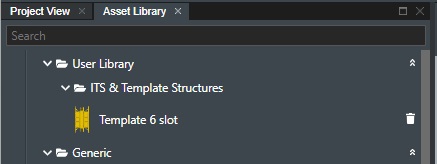
It will the show up under the User Library with the same category sub-folder e.g.:
Asset Search
There is a Quick search field at the very top next to the Assets heading. Simply start typing part of an equipment name or category and the selection will automatically get narrowed down for quick and easy asset selection as shown in the image below using "xm" as a search term.
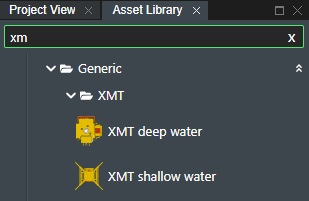
To clear the Search field just delete the text or press the x icon to the right.
To add an asset to your field layout design in the "Stage Area", simply click it and hold down the left mouse button while you drag it out of the asset list selector and onto the stage area and release the mouse button.
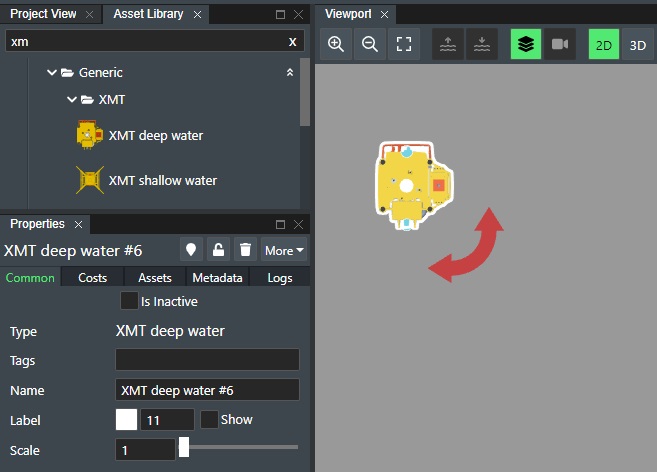
To reposition the asset just click again on the active asset and hold the left mouse button down while you move it to the new position on the stage and release the mouse button.
Asset Operations
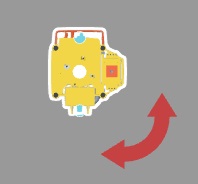
Once the asset is placed on stage you will see a rotation indicator next to it:
-
Rotate - Click and hold down the left mouse button on the Rotate icon to change the Heading of the asset in degrees (0-359). You can also set this in the Asset Common tab using the Heading input.
-
Move - Click and hold down the left mouse button on the Asset and move it to another location on the viewport.
-
Delete - Press the Delete button on your keyboard to delete the asset from stage.
Asset commands
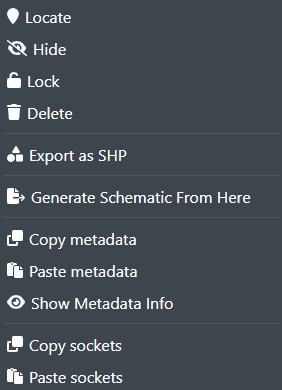
To locate the asset on stage simply double click on the asset name. You can also right click on the asset name and a menu with the available actions will be shown:
-
Locate - This will locate the asset(s) on stage.
-
Hide/Show - This will Hide or Show the asset(s) on stage.
-
Lock - This will lock the asset(s) on stage so they can't be moved, deleted or have its metadata edited. Note! If you project is part of a linked project the lock/unlock function is only available in the parent project itself.
-
Delete - This will delete the asset(s) on stage.
-
Export as SHP - Export the asset as a shape file. The file will be saved in your download folder.
-
Generate Schematic From Here - This will generate and save out a network schematic with this asset as the master node. The file will be saved as a SVG in your download folder.
-
Copy Metadata - This will copy the common metadata for the assets.
-
Paste Metadata - This will paste copied metadata from a previous asset into this asset.
-
Show Metdata Info - This will display the metadata information for this asset in a text box in the viewport.
-
Copy Sockets - This will copy the defined socket information for this asset into memory.
-
Paste Sockets - This will paste the previously copied socket information in memory into this asset.
Asset Settings
See the following section for more information on Asset Setting