Organization (IT Admin)
The "Organization" icon from the left side command bar takes you to the individual account membership functions for your corporate account if you have the appropriate IT Admin permissions.

Selecting the icon will list all registered members for your corporate account as shown here:
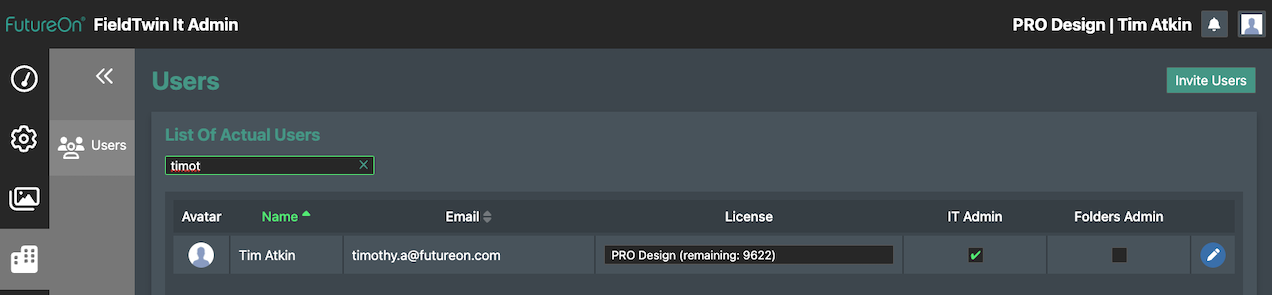
Search - you can begin to type the name or email of the user you are looking for and the list is automatically filtered to fit the keyword you are searching for.
Invite User
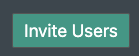
The IT Admin can invite new users to FieldTwin by using the Invite Users button.
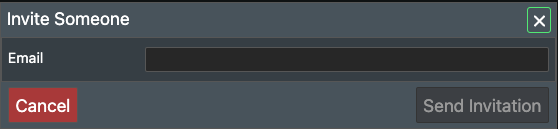
This then provides a dialog box popup in the UI that the email address of the desired user can be entered.
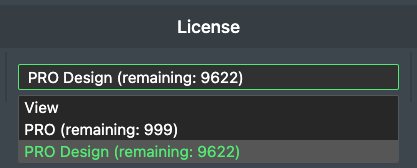
License
The IT admin has access to adjust the type of license each user has, whether it is View, Pro or Pro design and can also view the amount of licenses remaining of each type.
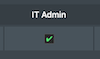
IT Admin
This check box is used to select the IT Admin, who has the user rights to access the organization area and invite other users FieldTwin and assign them user licenses. More information can be found here about User licenses
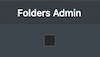
Folder Admin
This check box is used to select the users responsible for the folder layout in the dashboard, These folders are used to organise FieldTwin projects and sub-projects. More information can be found here on how folders are created
Edit User
General
Press the Pencil icon to see/edit the user settings.

You can edit your registered details such as name, email, mobile phone number etc.
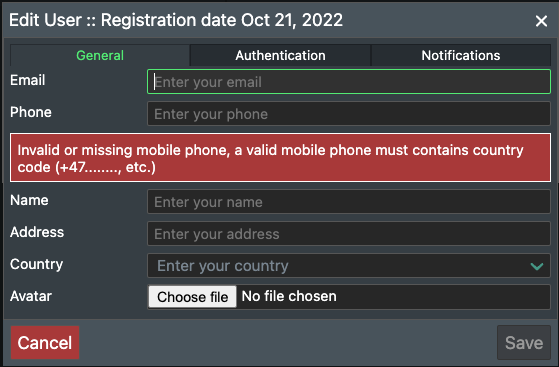
You can edit your user information as described below.
Email - This is the email address you will use to log into the application with. If your company is not using Single Sign On (SSO) you will receive the log in token to this email. For SSO you will be logged in automatically if the email registered here is in your organisations Active Directory as we use this as the UPN (User Principal Name).
Phone - Enter your mobile/cell phone number here. If your company is not using Single Sign On (SSO) you will receive the log in token by sms to this phone. Note! You must use the country code prefix before the number e.g. +47 followed by your phone number for it to be properly registered.
Name - Enter your name here. This is optional!
Address - Enter your address here. This is optional!
Country - Select your country from the drop down list. This is optional!
Avatar - You can select to upload an image of yourself here or an avatar image. This is optional!
Press Save to update any changes, or Cancel to abort.
Authentication
When not using SSO (Single Sign On) an authenticator app can be used and setup by clicking on the Authentication tab.

Then the user can click "Setup Application" and a new dialog box appears
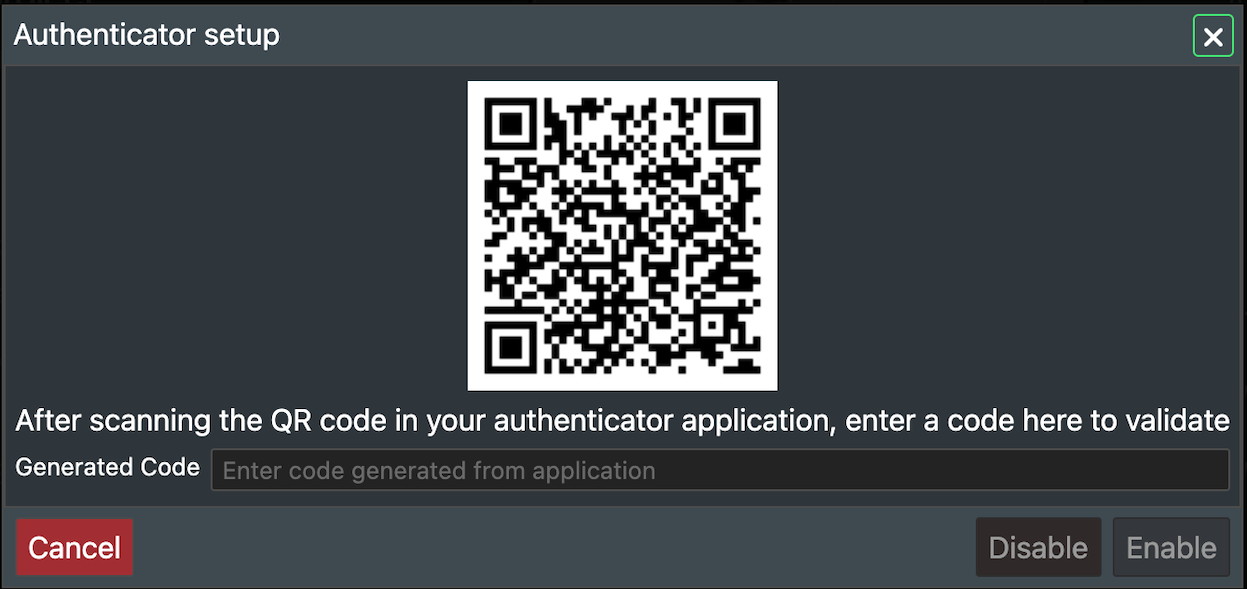
The user can then user the authenticator app of their choice.
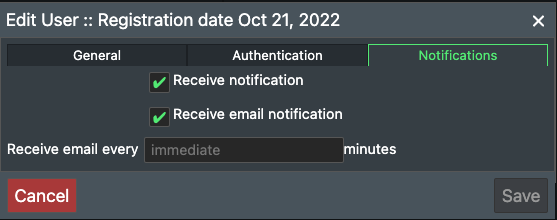
Notifications
When using workflow notifications can be sent to users when tasks are assigned. These can be controlled here.
Either in app notifications, email notifications. Also how often notifications are sent, either set to a time in minutes or immediately after the notifications creation.