Connection Profile
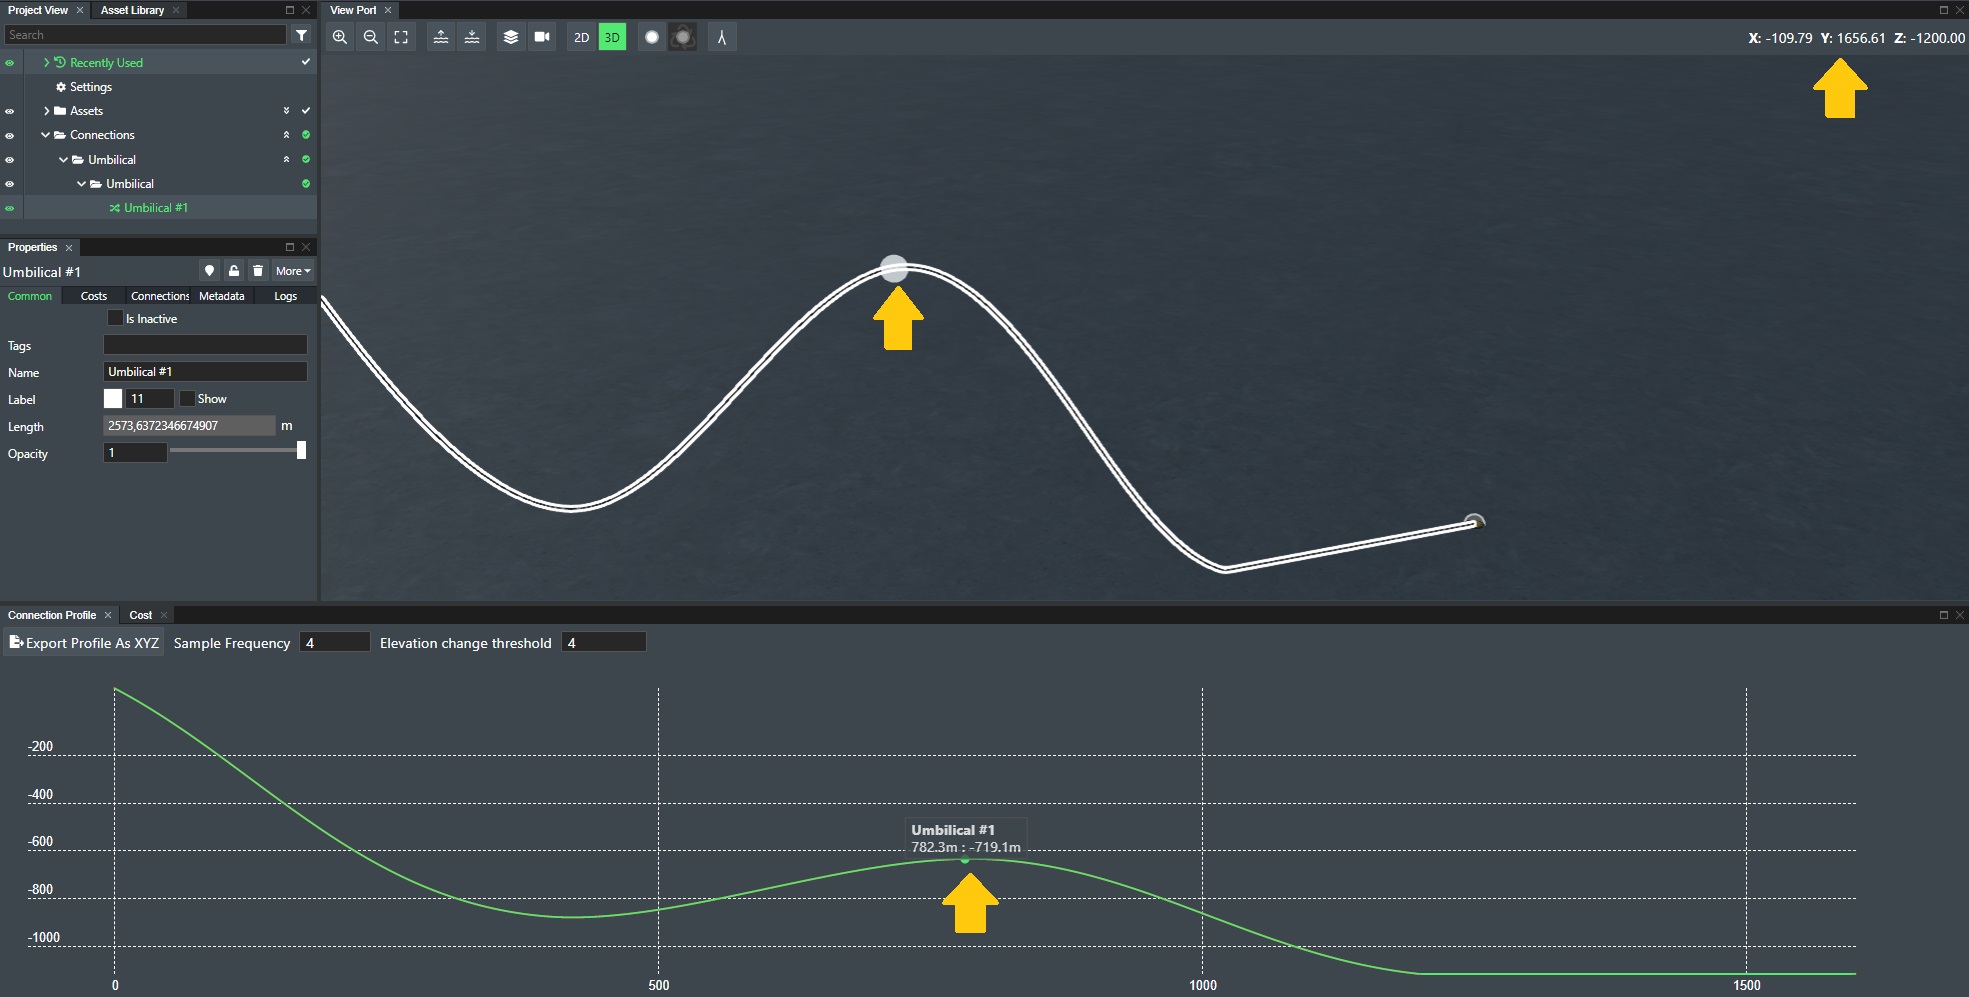
This module shows a 2D profile or side-view of how selected connection(s) follows/samples the seabed/bathymetry and allows you to get a better understanding of the elevation changes for the selected connection(s).
!Connection Profile](image/connection_profile.jpg)
When a connection is selected you can move your mouse sideways to move the indicator along the connection profile display.
It will then display the following info:
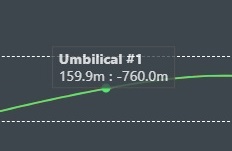
This displays the name of the connection, current distance from connection start point in units, and the actual depth in units at that specific point.
If you have the Show Kp Marker when Connection Selected option selected you will also see a circular visual indicator move along the connection in the Viewport at the same time to indicate the exact position for the sample readout.
You will also see the current X, Y, Z coordinate values in the Viewport top right corner.
Profile Commands
![Profile Commands(image/connection_profile_cmd.jpg)
Elevation change threshold
The Elevation change input field sets the threshold value in units on how much the connection elevation can change between each sample point. If the elevation exceeds this value, the display will mark the point with a red vertical bar to pinpoint the location.
Use Legacy
Check this box if you want to set the Sample Width settings as explained below.
Sample Width
The sample width (resolution) input field allows you to set the distance in units between each depth sample reading on the connection.
Export Profile
Press the Export Profile as XYZ button to export the selected profile(s) to a text file with x,y,z coordinates. Please note that in this case system exports the profile, not the connection itself. It means there is no real world coordinates, as the profile represented in XY coordinates, where X is the distance, and Y the elevation.
This file will be saved in your Download folder. If you have selected more than one(1) connection(s) the output file will be saved as a ZIP archive.
Zoom
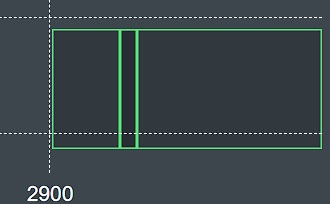
Click on the Zoom button to activate the zoom area. Click once at the start location of where you want to zoom. Then move the mouse to where you want the end of the zoom window to be and click the mouse button again. In the lower right area you will see a zoom area indicator to highlight where you are zoomed in on the connection profile.
Reset
Click the Reset button to exit the zoom operation and go back to default.
API Call
The Connection Profile can also be obtained from the FieldTwin REST API. See the API documentation for more information.